Step 2
Add mini-course content to your new course
Time to set up your mini-course!
Once you finish Step #1 (activating your Teachery account) you’ll be staring at your very own mini-course! HUZZAH! Look. At. You.
With Teachery’s course editor, you simply click into any section to edit the text. Don’t worry about adding images or changing colors in your course yet; we’ll cover that next.
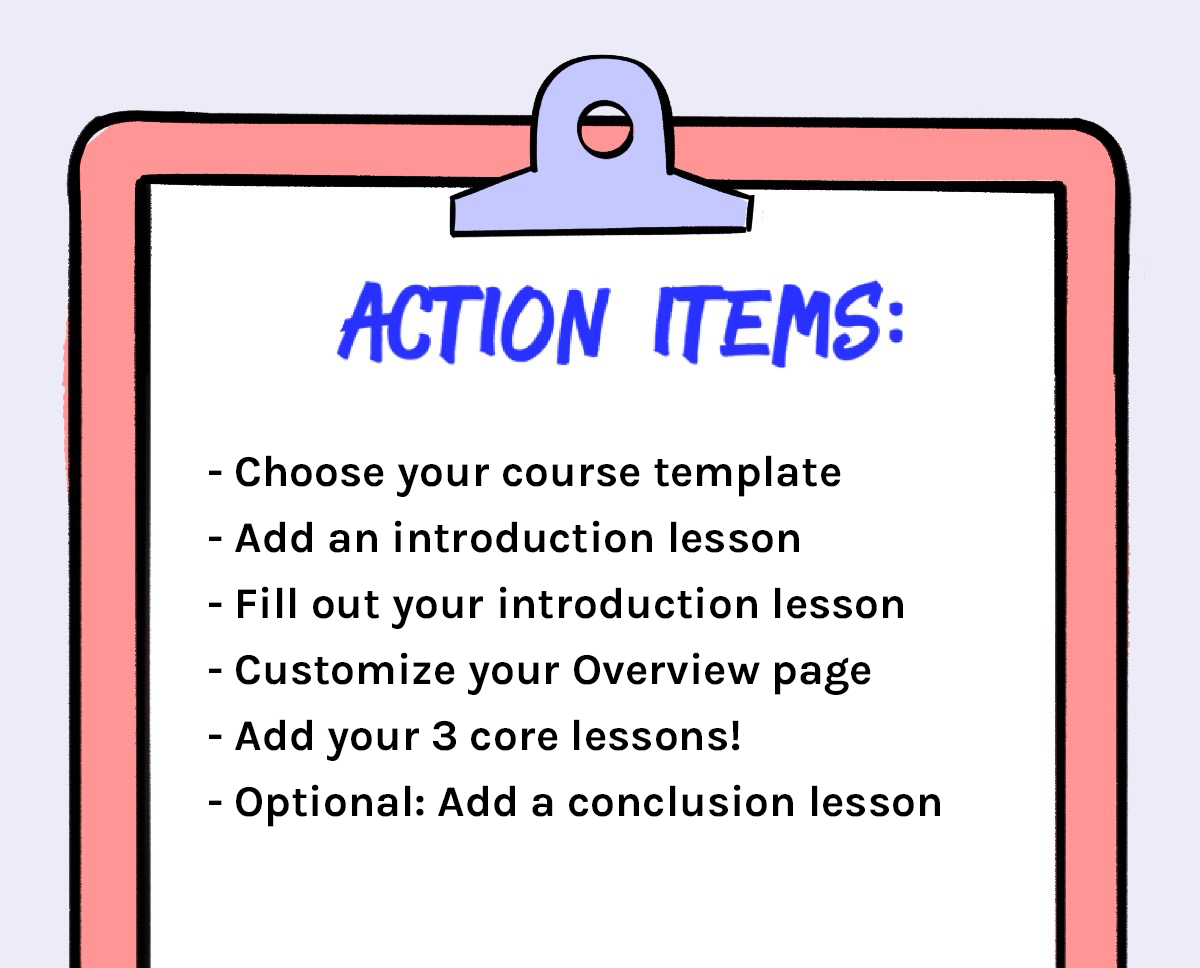
Here’s a quick checklist of items to get done in the mini-course completion process (there’s a walkthrough video of this process below!):
- Choose your course template. (You’ll be looking at the Default Template first, but in the editor sidebar, you can go into SETTINGS > Manage Options > Template and select the “Minimal Theme” to view the other course template option.)
- Once you’ve decided on your course template, add a New Lesson to your course. (In the sidebar click COURSE PAGES > Add Lesson and title this an “Introduction” lesson.)
- Fill out your new “Introduction” lesson. Write some content that helps welcome your mini-course student (just like we did here with the Make500 course!)
- Once you finish updating the “Introduction” lesson, go ahead and sort it to be the first lesson. (To do this, in the sidebar go to COURSE PAGES > Sort Lessons and you can drag and drop it to be first before your 3 core lessons.)
- Customize your Overview page. Go to your Overview page and fill out the Intro/Get Started/Questions sections with the appropriate info.(COURSE PAGES > Overview)
- Add your content! Go into each of your 3 core lessons and add in your lesson content!
- OPTIONAL: Wrap-up. Create another new lesson that will serve as a “Conclusion” or “Next Steps” lesson (Hint: You could use this as a preview of a full-size course you plan to sell later on!)
Believe it or not, your mini-course is basically completed! How about them apples?! Pretty straightforward and doable, yeah?